
Problem:
You can’t easily patch a file (any filetype) directly to a SharePoint Library (it’s different than working with a SharePoint list!). For this it takes several steps as a workaround.
Solution:
As a very first step create a new PowerApp and connect it with your library.
Secondly connect ANY SharePoint list to the app where attachments are enabled and embed an edit form for both lists.

In the form of the library add a custom data card and copy the attachment field from the list form to the empty custom data card – you can remove the error for “Parent.Default” by just deleting it. Afterwards you can also remove the data connection to the list and the related form since we just needed it temporary to copy over the attachment control. It should look simply like this: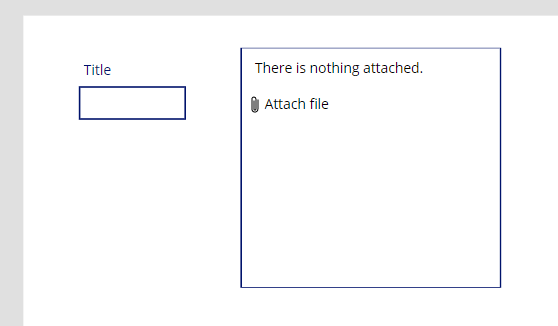
Not the trick begins…
If you upload an attachment and check it’s value, you’ll just see a URI for a temporary blob storage like in my example: appres://blobmanager/36446683a549421988f5b9f4b3bbdbb2/1
This format can not be used for further processing!
This is why we require a temporary image control.
Set the Image property of this control to:
Last(fileUpload.Attachments).Value
(where fileUpload is the name of my attachment control)
Now we need convert the output of the Image to a format we’ll be able to use later in a Power Automate Flow to create the file in the SharePoint library. For better understanding I’ll split the steps to not complicate the formula.
In the OnAddFile property of the attachment add following formulas:
(if you place any label and set it’s Text property to the variable, you can see what happens)
Set(varFileContent,JSON(imgTEMP.Image,JSONFormat.IncludeBinaryData));
Set(varFileStreamBase64,Mid(varFileContent,Find(“,”,varFileContent)+1));
Set(varFileStreamBase64Final,Substitute(varFileStreamBase64,””””,””));
Explanation:
In the first line we extract the Base64 encoded file content.
Next we remove the beginning of the file until “…Base64,” – this is where the real file content starts.
Last but not least we’re removing the character ” from the end of the file content string.
Now we need a Flow – just create a new Flow out of your PowerApp like this: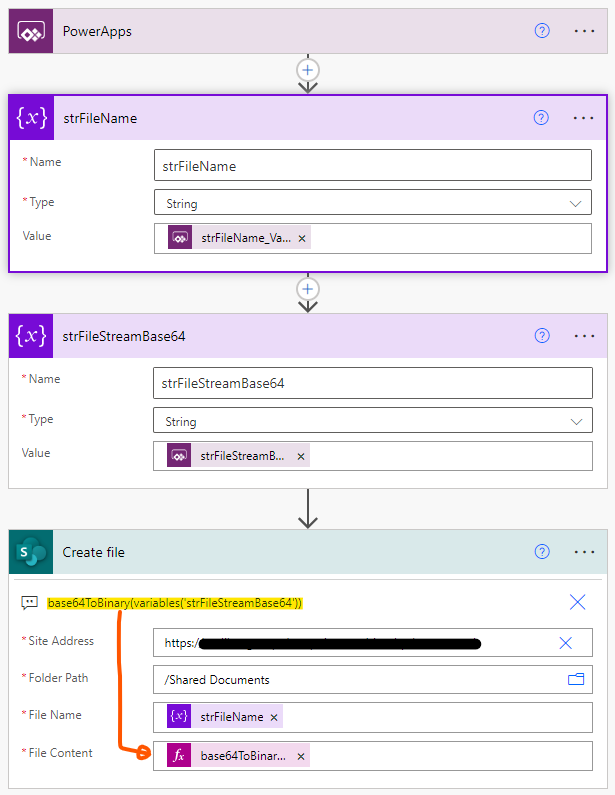
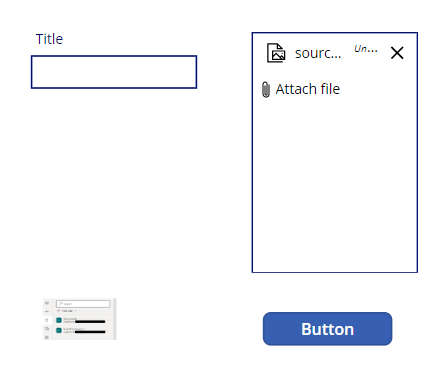
Now we just need to add a button to test.
OnSelect: ‘
PowerApps-UploadFileToSharePointLIBRARY’.Run(Last(fileUpload.Attachments).Name, varFileStreamBase64Final)
That’s it – I hope you enjoy and buy me a beer 😉
 (No Ratings Yet)